Want to bring a sleek look to your boring mirror? I guess LED mirrors are what you are thinking of. But they might be too expensive. That is why I bought you a guide on DIY mirror lighting with LED strips at an affordable price.
Just purchasing a few meters of LED strip lights can give your old mirror a new and modern look. The process is very simple; all you need to do is wrap the strip lights around the mirror and power it up. However, depending on the installation technique, the lighting output will vary. For instance, you can backlight, create borders with LED strips around the mirror, and more.
In this article, I will share with you some brilliant ideas and techniques to DIY LED light strips for mirrors. So, without any further delay, let’s jump into the discussion-
How To Choose The Best LED Strip For Mirror?
Before purchasing any LED strip for your mirror lighting, here are some facts that you must consider-
1. Consider Location
The type and color of LED strips for a mirror depend on its installation location and application. Some areas require bright light for tasks, while other places may demand a soft glam light. For instance, dimed and comfortable lighting is needed if you want a lit mirror for your bathroom. But the mirrors in barber shops should be bright enough to ensure proper visibility when giving a haircut. To get more guidelines in choosing fixtures for your barber shop, check this article- How To Choose Lighting For A Barber Shop? So, before selecting any LED strip, consider the location and note the lighting requirements.
2. Type & Color Of LED Strip
LED strips are of different types- RGB, tunable white, dim-to-warm, single color, digital LED strips, and more. You can use any of these LED strips to bring a creative DIY mirror outlook. But for this, you must ensure the color or the type of LED strip you choose fits the application. Suppose, for your vanity mirror, a green or blue color LED strip light is not the ideal selection. But if you are planning for mirror design in your restaurant, colorful lighting around the mirror may add a wow factor to your interior. To learn more about restaurant lighting, check this- Top 31 Restaurant Lighting Ideas.
3. Size
Before purchasing any LED strips for your mirror, you must know how many strips you need for the lighting. Usually, LED strips come in a 5-meter reel. No worries; you can cut the LED strips to your required size if you need less than that. They have cut marks on their body, and you can easily resize them using a mirror. This guide will help you to learn more about LED strip cutting- Can You Cut LED Strip Lights and How To Connect: Full Guide. However, if you need to join strips, it is also possible. You can either use an LED strip connector or go for a soldering process.
4. Dimmability
You may wonder why dimmable features should be considered when selecting LED strips for mirrors. Let me clarify the concept with an example. Suppose you are doing skin care in front of your vanity mirror. For this purpose, soothing soft lighting works best to prep your skin with relaxation. However, such dim lighting will not be effective when using the same vanity for makeup or facial hair removal. For doing these tasks, you will need a bright light that ensures proper visibility of your face. That is why you must check whether the LED strip is dimmable to utilize your DIY mirror lighting for multiple purposes.
5. LED Density
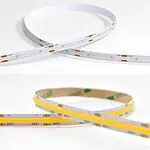
The number of LEDs per meter or LED density has a great impact on the lighting appearance of LED strips. When you install low-density LED strips to the mirror, it will create a dot-like effect. Though many of you may like the dot-like effect, I suggest a high-density LED strip. They give an even and neat lighting output. Thus, your mirror appears seamless.
6. SMD
The size of the LED chip used in the LED strips is also a considerable factor here. This is indicated by SMD, which stands for ‘Surface Mounted Device.’ LED chips come in different SMDs, each with individual properties. For example, an LED strip of SMD5050 is brighter than SMD3528. To know details, check this- Numbers and LEDs: What Does 2835, 3528, and 5050 Mean?
7. IP Rating
Is the LED strip of the bedroom vanity mirror suitable for your bathroom mirror? The answer is a big no. The fixture in your bathroom faces close contact with water. This is why you need to choose LED strips that can resist water splashes. But for bedroom mirrors, you don’t require waterproof LED strips. That is why you need to have a clear knowledge of IP rating to choose the best LED strip for your DIY mirror lighting project. IP stands for Ingress Progress.
Higher IP means better protection from solid and liquid ingress. If you place mirrors outdoors or in areas that face close contact with water, always get higher IP-rated LED strips. To know more about IP rating, check this- IP Rating: The Definitive Guide.
8. CRI Rating
CRI stands for ‘Color Rendering Index’. It determines the accuracy of LED strips to imitate natural lighting. CRI is graded from 0 to 100. Higher CRI indicates better color accuracy. This is very important for mirror lighting of commercial spaces like- clothing stores, saloons, jewelry shops, etc. For instance, the color of a dress may seem pinkish at the low CRI lighting of the store. But as you see this in natural light, it reveals the actual color is red. Always target a CRI above 90 for DIY mirror lights to avoid such a situation.
How To Install LED Strips On Mirror? – DIY
LED strip lighting gives your plain, regular mirror a sleek and modern look. You can easily do this task by yourself by following the below steps-
Step 1: Gather All Required Materials
The first step for DIY mirror lighting with LED strips is to collect all necessary materials. Here is what you need-
- LED Strip: Purchase the LED strips that fit right to your mirror. When choosing the light, you must consider the installation location, color, IP rating, etc. The discussion of the above section will help you to pick the best one.
- Scissors & Measuring Tools: A measuring tape determines how many strips you will require to light up the mirror. You should also have a sharp scissor to cut the strips to a suitable length.
- Electrical Wires & Connectors: You may need wires to connect LED strips to the power supply. Besides, get some LED Strip Connectors in your toolbox for connecting one strip to the other.
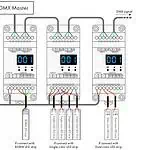
- LED Driver & Controller: The LED driver acts as the power supplier of the LED strips; it ensures proper voltage and current flow within the fixture. You will need an LED controller to control the brightness, light color, and other settings. Different types of controllers are available, including Wireless, DMX512, Triac, DALI, 0/1-10V, etc. For more information, check this- LED Controller: A Comprehensive Guide.
Step 2: Measure The Mirror
Take the measuring tape and measure how many LED strips you need to cover the entire mirror. For round mirrors, add extra lengths as you will need to shape the strip, which will require more inches. If yours is a rectangular mirror, I suggest you measure length and breadth separately to easily install the strips.
Step 3: Cut the LED strip
After you have determined how many LED strips you need, cut the strips to your requirements. Take the scissors and cut exactly to the cut marks. If by chance you give a wrong cut, the LED strips may not glow. In this case, you need to re-cut the strips from the adjusted cut marks. To get help with the cutting guidelines, read this article- How to Cut, Connect, and Power LED Strip Lights.
Step 4: Clean The Mirror Surface
Once you collect all the materials, it’s time to clean the mirror and its surrounding surface. This step is important as LED strips come with adhesive backing. If your surface is not clean, the adhesive will not stick firmly. As a result, the fixture can come off easily. So, ensure the area is cleaned. For this, you can use isopropyl alcohol to clean the mirrors. But before installing the strips, make sure the surface area is completely dry. If it remains wet, the adhesive will not sit on the mirror.
Step 5: Attach The LED Light Strip To The Mirror
The next step is to set the LED strips to the mirror. In this case, you can implement different strategies depending on the type of mirror. I am adding the process of attaching LED strips for frameless and framed mirrors-
- Frameless Mirror
If you have a frameless mirror, the best way to attach LED strip lighting is by adding a border with it. Keep one inch of space from all the sides of the mirror. Take the LED strip, remove the adhesive backing, and attach it to the mirror, creating a border. Remember that the mirror should be pre-installed in the wall to create this border effect.
- Framed Mirror
If yours is a framed mirror, you can either install the lights over the frame or create a backlighting effect. The process is as follows-
- Lighting over or in the inner edge of the frame: If you have a flat-framed mirror, you can install the LED strip lights over the frame. Simply measure the length and width size of the frame and place the LED strips on it, removing the adhesive. Press the strips to ensure it sits firmly on the mirror frame. Using mounting clips to secure the attachment of LED strips to the mirror frame would be ideal in this case. However, you can also create an inner outline with the LED strips. Keep one inch of space toward the inner edge of the frame. This will create a double border to the mirror- one of the actual frames, the other of glowing LED strips.
- Lighting in the back of the frame: Another method of attaching LED strips to the framed mirror is backlighting. Turn back the mirror and mark one inch from the edges toward the inner portion. Remove the adhesive backing of the LED strip and stick it to the markings all around the mirror. Now, face the mirror in the forward direction, and it’s ready to attach to the wall.
Step 6: Install Mounting Hardware
Once you have attached the LED strips to the mirror, it’s time to place the mirror on the wall. For this, you will need to install mounting brackets. Decide the location of the wall where you want to install the mirror. Mark it well and attach the brackets to the wall using a drilling machine. Now, place the mirror and secure the brackets.
Step 7: Prepare The Power Supply Unit
The final step is to power up your LED strips. Attach the LED driver to the LED strips of the mirror and plug it into the power outlet. Now turn on the light and watch them glowing. Your DIY mirror is ready!
However, if you don’t have any plugin facilities around your mirror, there are alternative options, too; check out this article: How To Use LED Strip Lights Without Plug?
Tips For DIY LED Strip Lighting For Vanity Mirror
Before implementing your DIY mirror project, here are some tips to follow-
Choose color temperature adjustable LED strips: Usually, most of us set our vanity mirror in our bedroom unless we have a separate room for dressing. Warm lighting is best for the bedroom as it creates a cozy ambiance. But vanity mirrors are used for several purposes, including makeup, skincare, hair setting, facial hair removal, and more. All these activities don’t favor warm lighting. For instance, you need cool lighting between 4800 and 5000K when you do makeup. Again, soft lighting ranging from 2700K-3500K for skin care or a massage creates a relaxing atmosphere. For this reason, I suggest you use tunable white LED strips for vanity mirrors. It allows you to adjust the color temperature from warm to cool tones per your requirements. Check this- Tunable White LED Strip: The Complete Guide to learn more.
Keep the corner lighting neat: You should know how to install LED strips around the corner of the mirror. If you have a rectangular or square-shaped mirror, go for 90-degree folding around the edges. For a round-shaped mirror, implement the accordion folding method. However, you can also use LED strip connectors to make the corners neat. Remember, if you don’t install the LED strips perfectly in the corners, it will not give an even lighting output. To learn more about corner LED strip installation techniques, read this article- How To Install LED Strip Lights Around Corners?
Connect the LED strips to your phone for better control: Smart LED strips have Bluetooth or Wi-Fi-enabled features that allow phone connectivity. With this feature, you can adjust the brightness, change the light color, turn it on, or switch it off with your mobile phone. Here is the complete guide for connecting strip lights to your smartphone- How To Connect LED Strip Lights To Phone?
6 Best Ideas For DIY Mirror Lighting With LED Strips
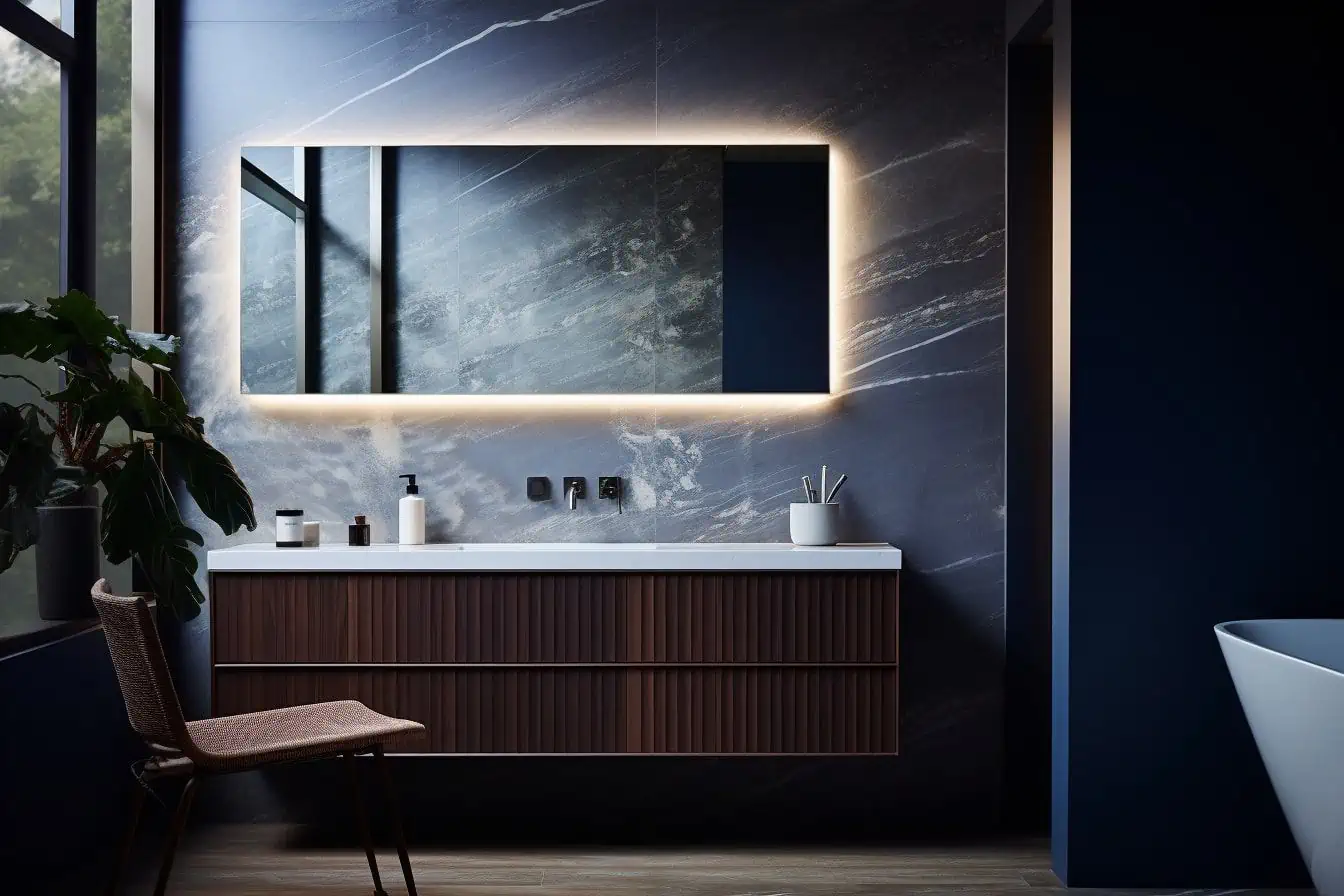
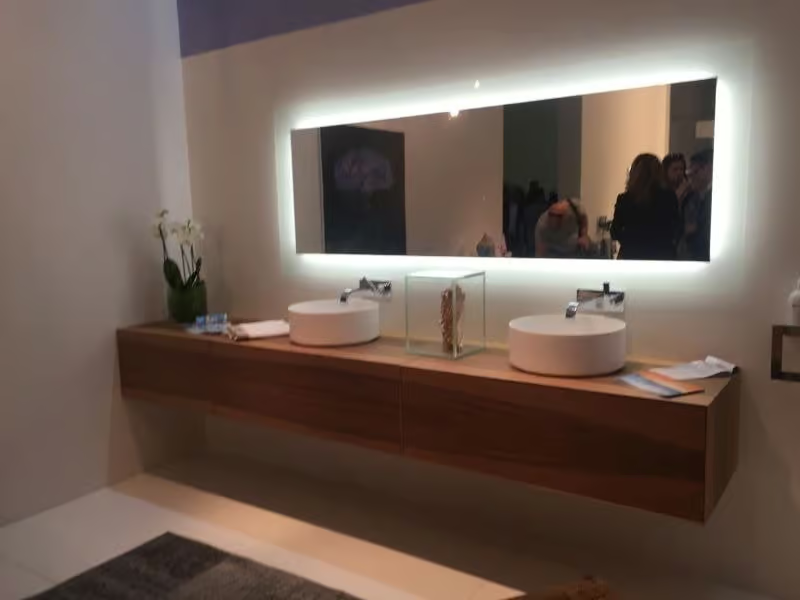
1. Create a Floating Effect
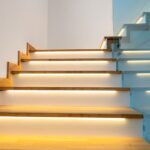
The best DIY approach to mirror lighting is creating a floating effect with an LED strip. For this, you need to place the LED strip on the back side of the mirror, keeping a two to four-inch gap around the edges. Remember, this gap will depend on the size of your mirror. After attaching the LED strips to the mirror back, it’s time to mount it to the wall. You must keep a decent amount of space between the mirror and the wall to get the floating effect. If you keep no distance, the floating effect will not be produced.
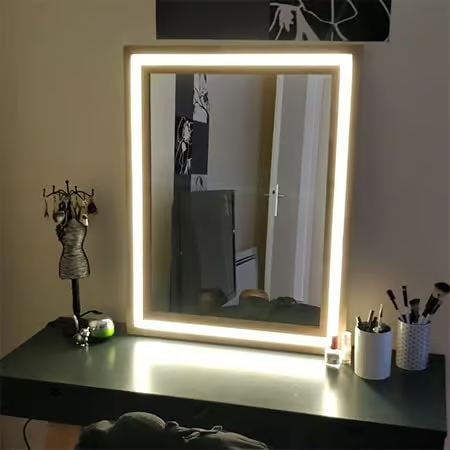
2. Built-In Mirror Lighting
Built-in LED strip mirrors are a modern replacement for the traditional bulb-fitted mirrors. Many ready-made mirrors of this category are available in the market with advanced features like touchscreen buttons. However, you can create a DIY built-in mirror easily at home. For this, first, you need to create two wooden frames. The first frame should be plain, and the second frame should be smaller (equal to the size of the mirror)and have a height of one inch. Place the small frame over the first one and fix it with nails. Then, install LED strips in the space between the two frames. Now, place the mirror over the smaller frame. And finally, cover the full frame with a glass. This will give a professional look to your DIY mirror lighting.
3. Outline Following The Mirror Shape
If you have a vintage-style mirror, LED strips can bring a modern touch to it. For this, you will need to shape the LED strips following the design of the mirror. You may require cutting the LED strip into tiny pieces to fit the shape. In this case, use LED strip connectors to cleanly cover the corners. However, if you implement strip folding, ensure it does not damage any LED chip.
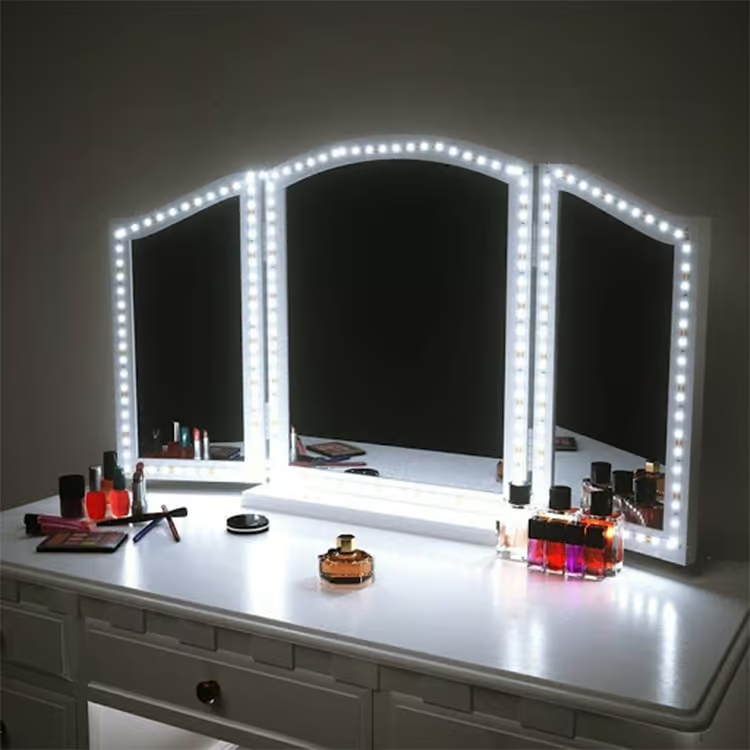
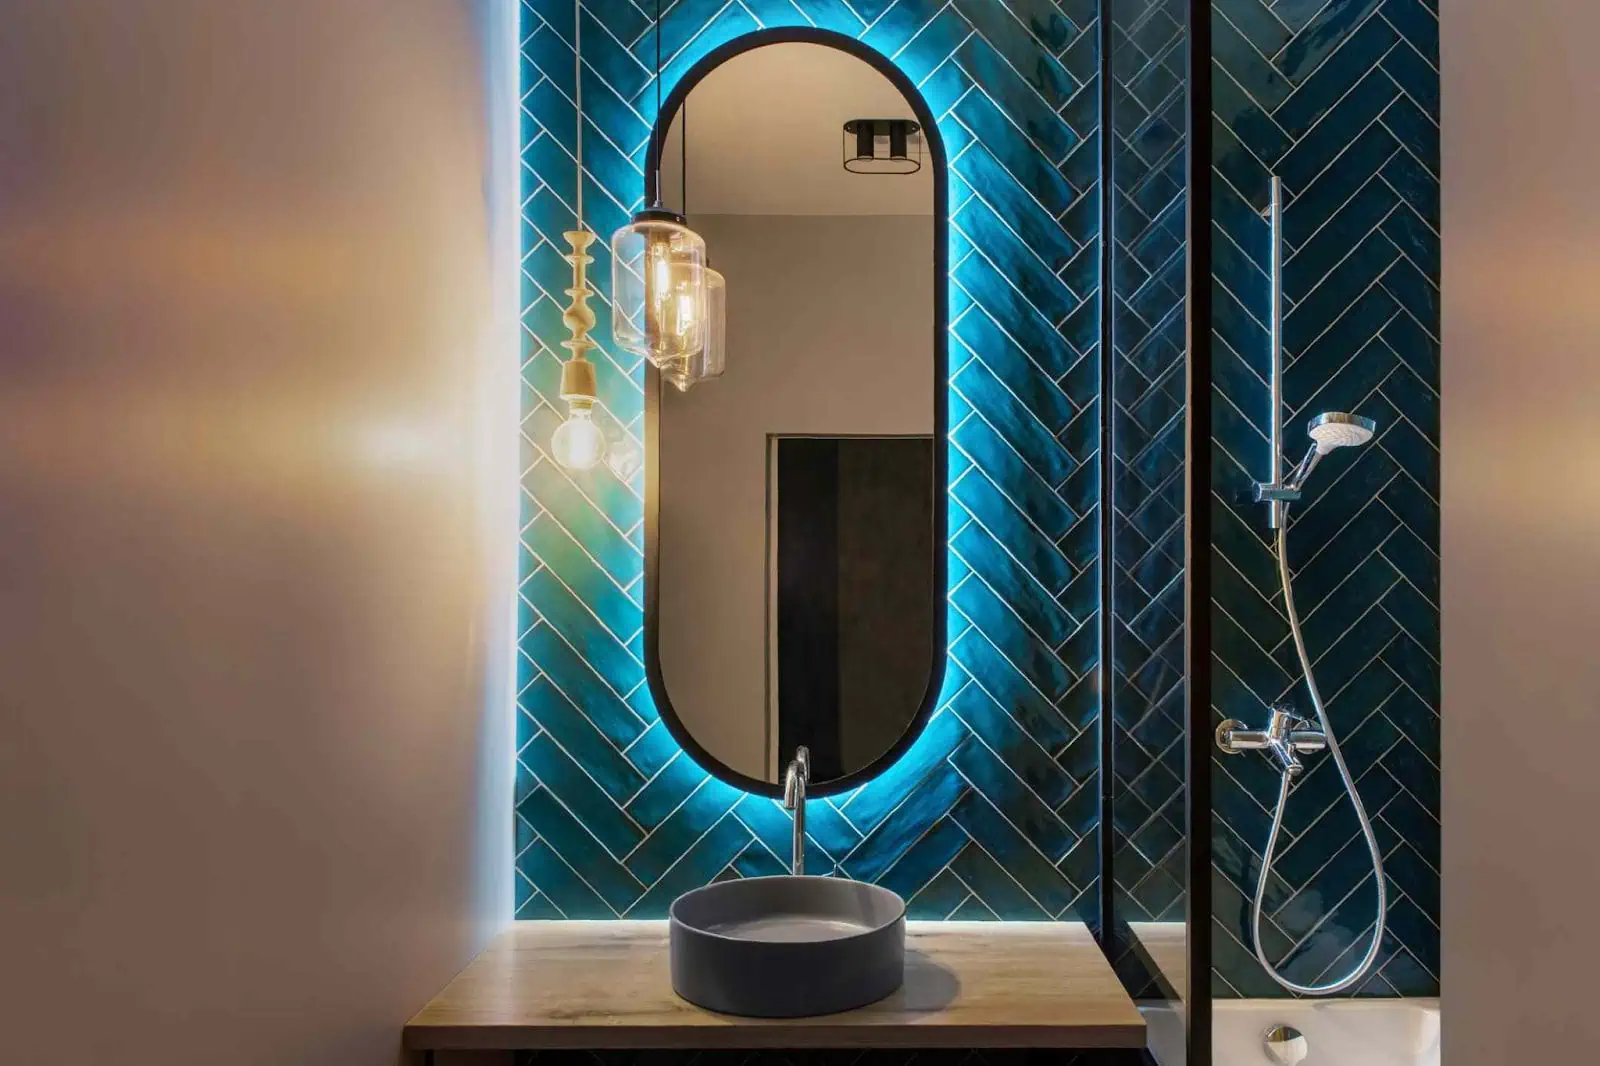
4. Try Colorful LED Strips
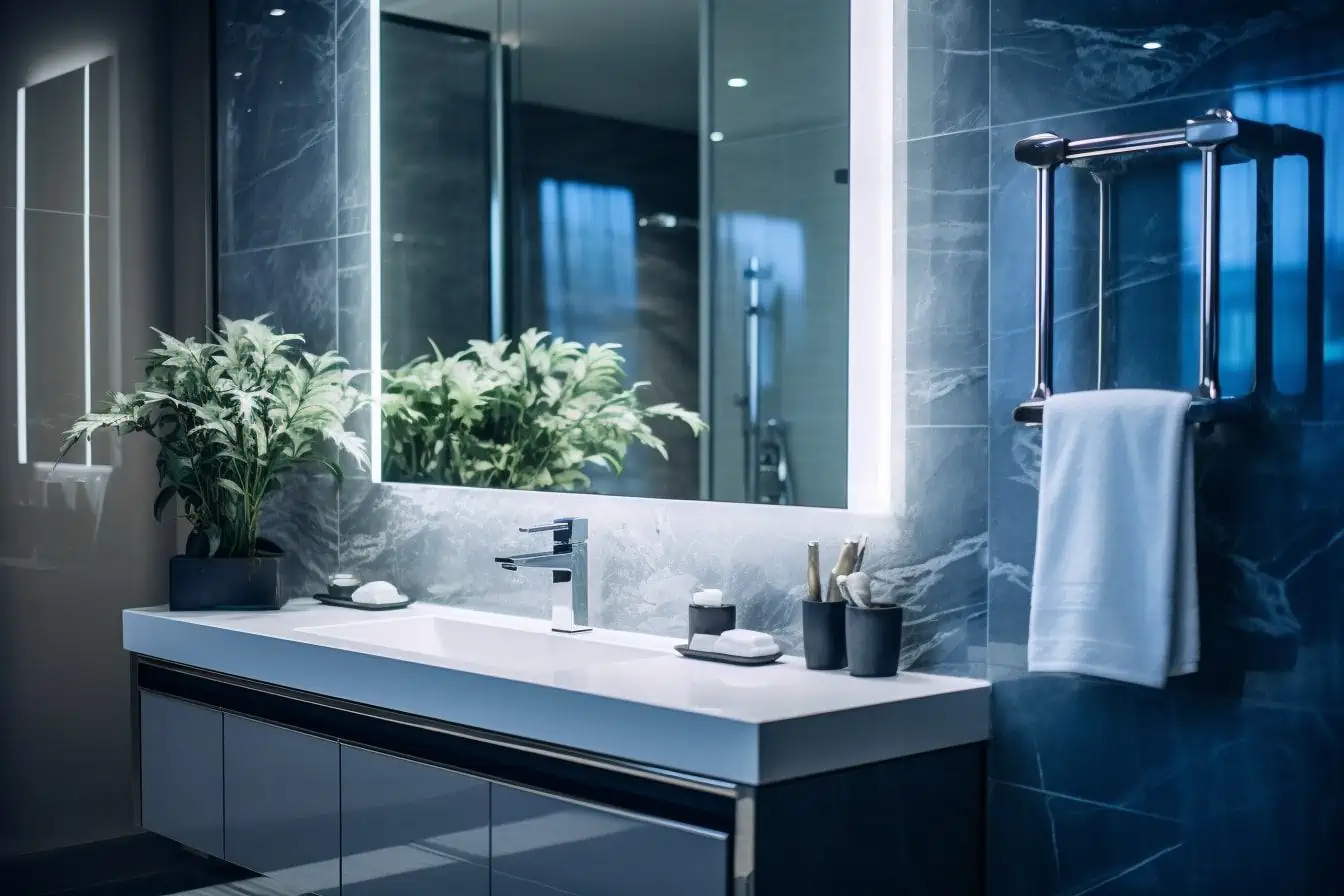
Usually, warm, cool, or bright white lights are used for mirror lighting. But you can bring uniqueness to it by adding a pop of color. Installing colorful LED strips to your mirror can bring a wow factor to your space. For this, RGB LED strips work best. You can change the color of the light as per your use. You can create up to 16 million hues with RGB strips using a remote control! However, you can also use colorful plane single-color LED strips. This colorful DIY mirror lighting is ideal for your bathroom mirror or decoration mirror of restaurants, hotels, bars, pubs, or yoga studios.
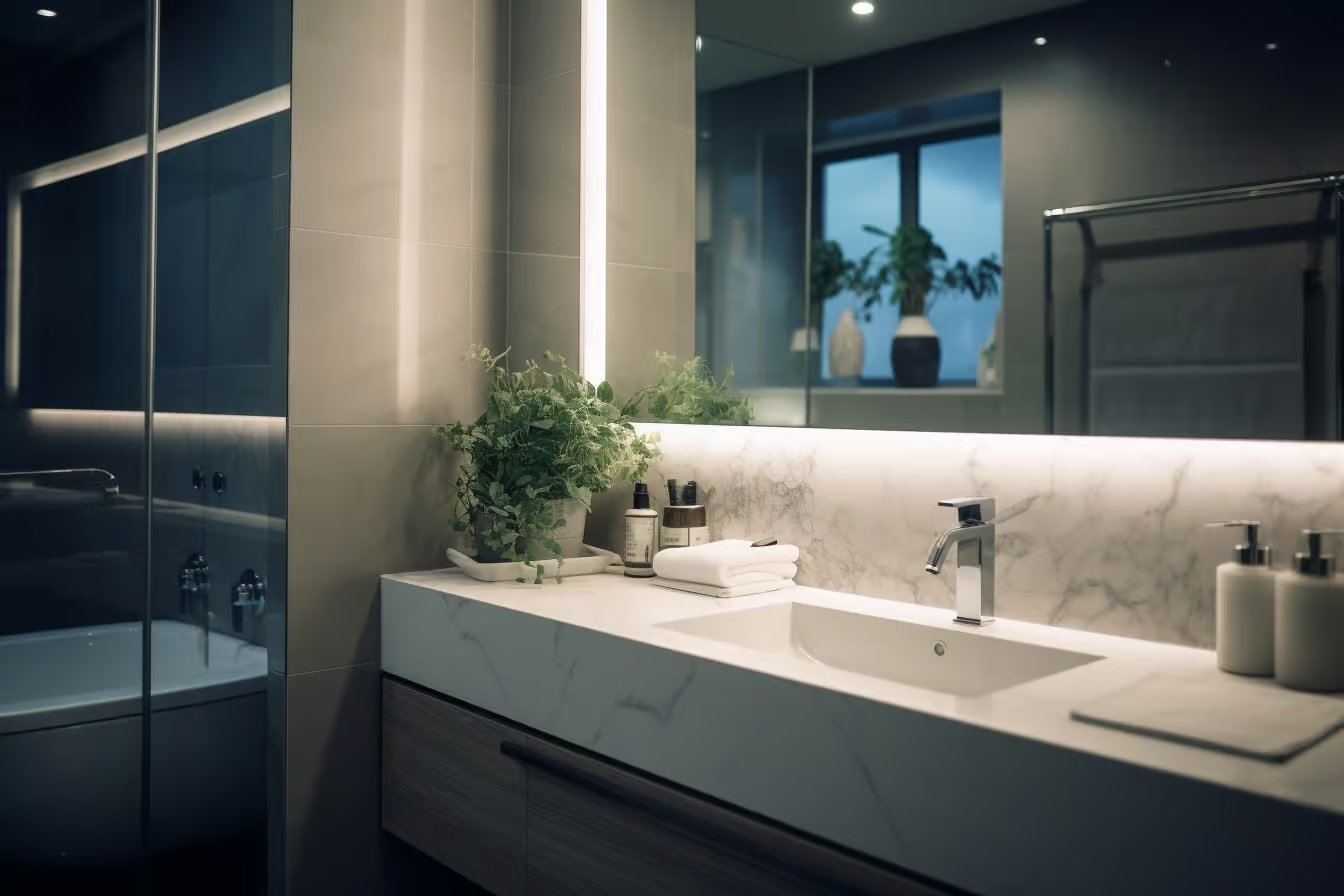
5. Use Warm Lighting For A Cozy Vibe
An orangish warm-tone LED strip around your mirror can bring a cozy ambiance to your space. It could be your bathroom mirror or bedroom vanity; these lights are excellent. Installing these LED strips in your bedroom mirror can serve the purpose of sleep light. It is proven scientifically that warm lights aid in sound sleep. However, I suggest you use dim-to-warm LED strips for better facilities if you want warm mirror lighting. These fixtures allow you to adjust the color temperature from 3000K To 1800K. So, you can get your comfortable, warm light setting using them.

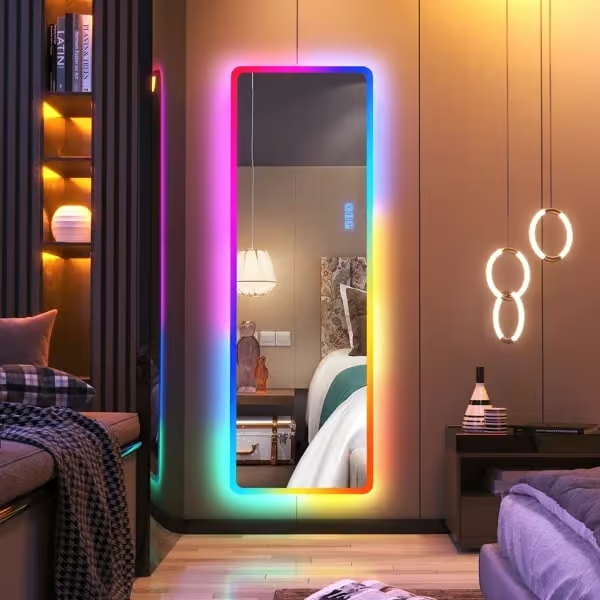
6. Rainbow Mirror Light
Want to bring the fairy world into your home? Try installing an Addressable LED Strip to your mirror. These digital LED strip lights provide you control over each segment of the strips. Thus, you can bring a rainbow effect to your mirror. If you love color and want to have fun in your room, such a mirror setting will undoubtedly blow your mind.
FAQs
The Bottom Line
LED strip lights are excellent for mirror lighting. The flexibility and resizing feature of these fixtures allows you to easily install them around the mirror. You can choose different types and colors of LED strips to glow up your mirror. However, before selecting any fixture, check its warranty, IP rating, and quality. Feel free to contact us if you need any customization for your mirror lighting. You can also get help from this guide for DIY mirror lighting – How to Customize Personalized LED Flexible Strips? However, besides LED strip lights, LED neon flex is also an excellent choice for mirror lighting. They create a glowing effect that will mesmerize you.