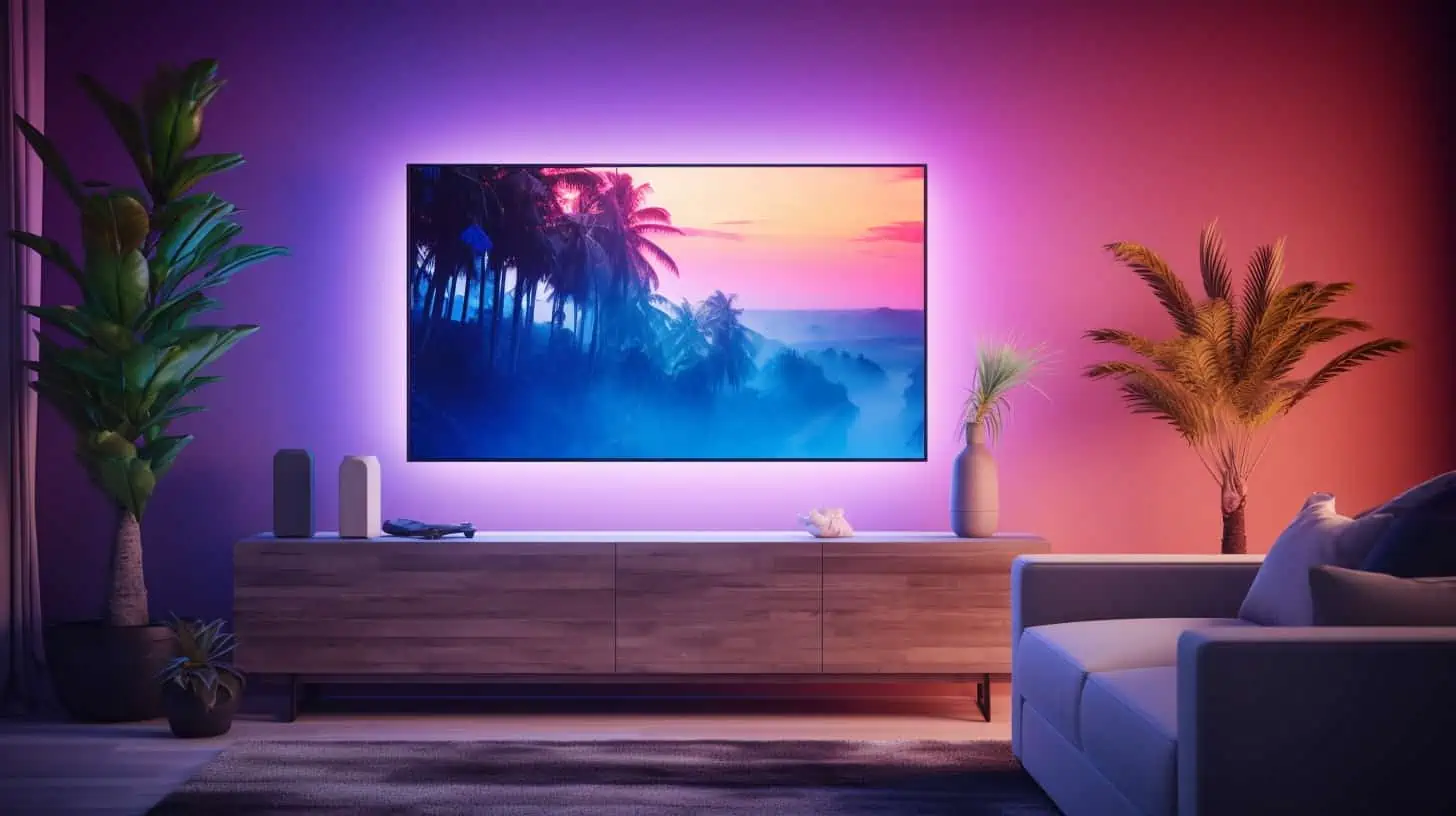
Do you constantly change your TV’s brightness and settings but can’t get the perfect visual? Installing LED lights behind your TV can significantly enhance your viewing experience by solving these issues.
LED strips and bar lights are the most popular options for TV backlighting. Though installing the bar lights is more convenient, LED strip lights work best to customize your lighting effect and placement. To add these lights behind your TV, you must first arrange the material you need for installing lights. After that, measure the edges of the TV and purchase the fixtures accordingly. Then, you can plan the whole installation process, but ensure the back of the TV is clean. You can do this installation by yourself or hire a professional. However, make sure to wire the fixtures securely behind the TV.
Here, I bring to you detailed guidance on installing LED strips behind the TV. It includes the equipment and types of lights you need. So, here you go-
Types Of LED Lights To Put Behind Your TV
Some popular lighting options for setting behind your TV are LED strip lights and LED light bars. Both can help you create a fantastic atmosphere in your TV room. And you can set them behind your television without a professional electrician or engineer.
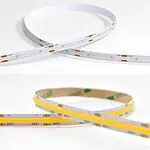
LED strip lights are the most prominent choice for lighting behind the TV. They are flexible, so you can bend them easily in the corners and install them on the bank of the TV. Besides, they have cut marks, allowing you to size the strips per your TV’s length and width. And the interesting fact is that you can also rejoin the segments. To learn how to cut and rejoin the LED strips, check this- How to Cut, Connect, and Power LED Strip Lights. Again, LED bar lights are also used behind the TV. You can easily position them to create backlighting. But to create a hidden effect, an LED strip works best.
Required Material To Put LED Lights Behind Your TV
- LED Light: buy a kit with pre-cut LED strip lights (the kit includes a mini-controller, a USB power plug, a remote, 3M self-adhesive backing tape, three connector cables, and four individual strip lights); or go for a set of LED bars or an LED strip lights set, or go for a set of LED bars or an LED strip lights set
- Measuring tape
- Scissors
- Masking tape
- Lint-free cotton cloth
5 Easy Steps To Add LED Lights Behind Your TV
Let’s see some of the easy steps to follow for connecting LED lights to the back of your TV–
Step 1: Measure Your TV
You can use masking tape to decide the length of LED strip lights. This tape will help you mask the exact sections on the back of the TV that you want to brighten with LEDs. Besides, when you measure and install the LED lights, place your TV face on a soft surface. For this purpose, your bed is the best option. Also, you can place a soft blanket on a carpet to measure the TV easily. After that, measure the length of each strip of masking tape on both sides. Remember that you’ll need three connector cables for the corners when buying an LED kit with pre-cut single strips.
Position the masking tape strips a few inches away from the TV’s outer perimeter. Because this allows for greater flexibility when using them. LED strip lights can be cut to the length if you want. They also come in pre-cut options, which are more convenient for installation. You don’t need to cut them to fit into corner connectors. Just follow this measurement–
- 82″ to 95″ TV: 21-23 ft of LED strip lights
- 70″ to 82″ TV: 18-20 ft of LED strip lights
- 65″ TV: 14-16 ft of LED strip lights
- 43″ TV: 9 ft of LED strip lights
- 32″ TV: 6.5 ft of LED strip lights
Step 2: Plan The Installation
After that, you need to plan where to place the LED lights. However, common choices are along the TV’s edges or the back. Decide if you want them on one side or both. This step helps you visualize the final look.
Step 3: Clean The TV And Surrounding Area
Before applying the LED strip lights, ensure the TV’s surface is clean. To do this, use a moist, lint-free cotton cloth to wipe the TV’s back thoroughly. And make sure to eliminate any dust and dirt. Hence, cleaning the TV surface improves the bonding of the self-adhesive tape on the underside of the LED lights.
Step 4: Install The LED Light
It’s time to Install the LED lights on the back of your TV. I will describe four techniques based on the kind of LED lighting you’ve acquired. Remember, start the process where the first part of your LED strip can reach the USB port. It is crucial to connect it to the mini-controller and the USB adapter.
Method#1: Cutting The LED Strips To Fit The TV Size
When you buy an LED light strip that needs to be cut, check that the kit has at least four corner connectors. Also, check it contains the correct number of connector clips. You need corner connectors for attaching two cut pieces of strip lights when you reach a corner. However, this method makes the strip lights less likely to get damaged from bending or creasing. For details, check this- Can You Cut LED Strip Lights and How To Connect: Full Guide.
Some LED lights have a small controller and a USB connection. If your LED set is made like this, connect the power source and check that it reaches the starting point of the LED strip. Then, install it on the side where the TV’s power connects, usually on the right. Measure the first strip from the bottom of the TV to the top corner, where it will link up with the corner connector. When you’re satisfied with the length, cut the strip lights at the nearest marked cutting point; it can be indicated with a scissor icon. This guide, How to Cut, Connect, and Power LED Strip Lights, will help you cut the strips properly. After that, secure the connector clips in the desired place. The next thing you need to do is peel off the bottom tape to reveal the adhesive tape. Attach each piece, one at a time, to the TV and the correct corner connectors on all sides. Then, you have to join the power supply and test the remote functions. Finally, put the TV back on its stand or wall mount.
Method#2: Attaching LED Strip Lights Using The Folding Method
If you don’t want to cut the LED strips, you can use strips by following the folding method. There are three techniques you can follow to do this–
a. The Corner Fold Or 90-degree Fold: For the perfect approach, you can go with the corner fold or 90-degree fold strips installation process. So, fold the strips at 90-degree. By using super glue, you can hold them together. This is a simple method that needs no connectors and is ideal for emergency situations.
b. 90-Degree Pitch Or The Ribbon Bend: This process is more simple than the corner fold. If you have never done any installation, you can do this by learning some steps. So, to begin, put the strip on your TV, then bend them in a looping style. After tightly curling, it uses adhesive tape or super glue to connect the loop to the TV.
c. Accordion Folds (The Curve): You can use this method when the corners are larger than 90 degrees. So grab some strips and create small folds. Then, with adhesive, connect every fold and attach it to the TV, which is excellent for round corners.
Therefore, by following these methods, you can easily connect the lights back to your TV without facing any cutting hassle. To learn about the folding methods of LED strips in detail, check this- How To Install LED Strip Lights Around Corners?
Method#3: Connecting Pre-Cut LED Strip Lights
This process is simple when you choose pre-cut LED light strips. The four individual strips come as a single unit, so be cautious when separating them. It’s best to begin with a trial run. Then, you must place the LED strip light accessories on a workspace. After that, use the three-connector cables to attach the four light strips together at the corners. This arrangement should form a rectangle when assembled correctly. Furthermore, the pre-cut LED strips should easily fit into the connector cables. If you have trouble joining them, check the instructions from the manufacturer for help. To make a proper connection, align the LED strip lights’ conductors with the connector cables’ markings. Next, put the provided light strips and connector cables on the back of the TV. Ensure the TV size matches your measurements or is very close to them when buying.
Moreover, if everything appears to align correctly, it’s time to join the lights on the TV. Take off the adhesive backing of the LED strip and stick the stripes on the TV’s sides. Do this one side at a time. Once all the LED light strips are correctly positioned, connect the power source and check the remote control functions. Also, you can attach one strip first, connect it to the corner cable, and move on to the next strip. Repeat this process systematically as you work your way around the TV.
Method#4: Attaching LED Bars To The Back Of Your TV
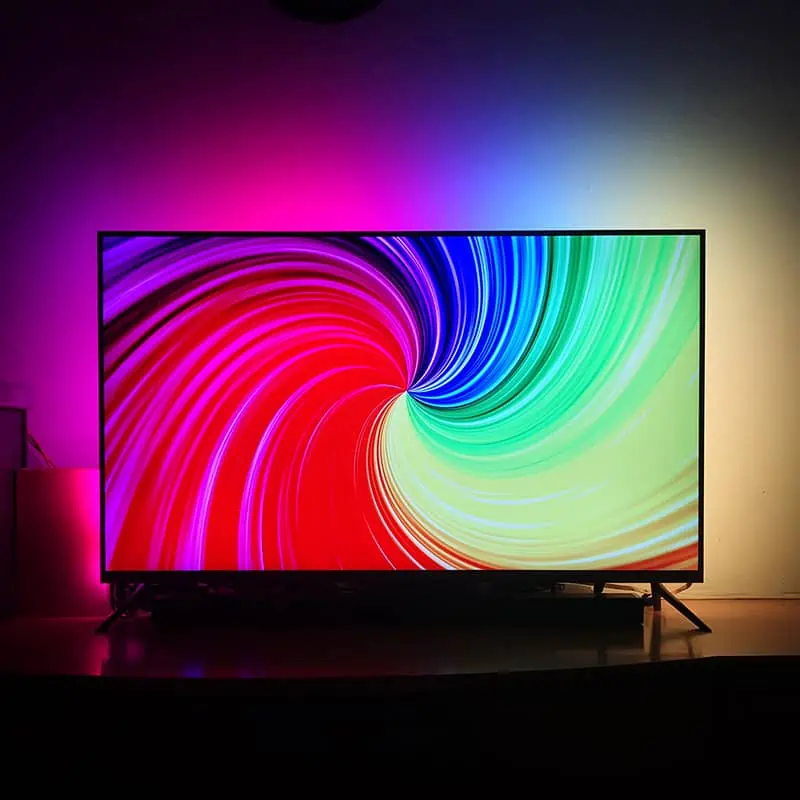
LED bars are the other easiest choice for LED installations as they need little effort. When your TV is on a stand, you only need to connect the power source and position the LED bars behind or beside it. Also, you can turn the LED bars to face the wall; it will produce a similar effect as when you have LED lights fixed to the rear of your TV. But, the effect can not be as dramatic as four rows of LED strip lights at the back of the TV. However, its ambient lighting will solve your problem of watching TV in the dark. If you want the LED lights behind your TV, choose LED bars that attach to the back of your television. LED bars offer excellent features, such as the following:
- A multitude of preset modes
- Music synchronization
- Millions of RGBIC color options
- Scheduled optimization
- Alexa and Google Assistant functionality
Step 5: Enjoy Your Enhanced TV Experience
Finally, sit back, relax, and enjoy your TV with the added ambiance of LED lights. These can improve how you see things and make your home look more stylish.
Benefits Of Having Lights Behind Your TV
There are many advantages to adding lights behind your TV. I have included here some common benefits; check these out–
Minimizes Glare
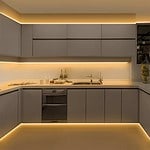
When your eyes feel tired from looking at a bright screen in a dark room, you can consider turning on more lights. Surprisingly, many typical home lighting setups can impede clear and convenient screen viewing. In a usual living room or office, you’ll often find floor lamps, ceiling lights, and table lamps. These light sources are typically positioned above, to one side of, or in front of the screen. As a result, while they illuminate the room, they also cast light onto the viewing materials. The light bouncing off can make your screen hazy and shiny and make it difficult to see images. At the same time, bias lighting is situated at the back of the viewing area. It brightens up your surroundings without shining light on your eyes or the screen. This will give you a well-lit room while avoiding issues like visual distortions.
Diminish Eye Strain And Headaches
Looking at bright TV screens can tire your eyes, especially in a dark room. This occurs because our eyes can’t naturally adapt to the intense brightness of the brightest spot in the room. Instead, they try to get used to the normal amount of Light we see all around us. Dealing with the bright screen and surrounding darkness can strain your eyes. This leads to sensations of dryness, tiredness, or discomfort. Bias lights help reduce eye strain because they increase the brightness in the room. The Light they emit is usually soft and spread out, not harsh, so your eyes can adjust comfortably.
Improves Visual Quality
Apart from lowering eye strain and discomfort, it can improve image quality. It enhances the contrast of the on-screen content by using indirect light. As a result, you can get a richer and crisper appearance. Black and gray shades will look more vibrant when your screen is against a bright wall. Also, they can appear washed out when viewed against a darker backdrop.
Reduces TV Wear And Tear
Many people change the brightness and contrast on their TVs and monitors to make the colors look better. So, if you change these settings too frequently or keep them too high for extended periods, this can decrease TV longevity. The screen’s backlight can use a lot of power, making your electric bill higher. You can lower the brightness if your screen makes the image clear and bright with TV backlights. By doing this, you can protect your TV and save a lot of power in the future.
Easy To Buy And Install
If you’re convinced about the benefits of bias lighting and eager to get started, you’re in luck. Setting up this lighting system is simple and won’t cost much. A regular lamp behind the screen will work well for TVs or monitors set away from the wall. You can also use a metal shop lamp with a clamp. Plus, most backlighting systems are designed to be user-friendly and easy to install. With adhesive strips and simple connectors, you can quickly set up the lighting behind your TV without the need for professional assistance. So, install it to make your family’s binge-watching sessions more comfortable and enjoyable.
FAQs
Conclusion
Backlighting your TV not only enhances the ambiance of your space as accent lighting but also provides a better watching experience. Thus, it adds an immersive atmosphere to your living space. Besides, there are a lot of benefits to installing lights back on your TV.
For example, you can reduce glare and eye strain, improve visual quality, and more. LED strips and LED bar lights are the most popular choices for TV backlighting. Though it is easy to install the bar lights, to get the best output, go for LED strips. They are super flexible to install even on the corner of the TV.
And for the best quality, LEDYi is your ultimate solution. Whether you want to use single colors or RGB variants, we have everything in our collection. Besides, our addressable LED strips are an excellent choice for your TV lighting. So, why wait any more? Place your order ASAP!